
Why Kubernetes labels are important (but not always necessary at the start)

If you’ve started your Kubernetes journey, you’ve probably noticed something peculiar in almost every beginner tutorial: the early introduction of labels. Right after you create a pod or deploy your first application, you’re encouraged to add labels like app=frontend or tier=backend. But let’s be honest—if you’re just starting out, you’re probably wondering: Why on earth am I doing this?
The truth is, labels are one of Kubernetes’ most powerful organizational tools, but their true value becomes apparent only when you start dealing with more complex infrastructures. Let’s break down what labels are, why they’re useful, and why beginners might not need to worry about them immediately.
What Are Labels?
In Kubernetes, labels are key-value pairs attached to objects such as pods, nodes, or services. Think of them as metadata tags—labels don’t affect the behavior of an object directly, but they make it easier to group, identify, and manage resources later on.
For example, you could tag your pods with app=frontend or env=prod to differentiate between your production and staging environments. Labels become truly powerful when paired with selectors, which allow you to target specific groups of objects for operations like scaling, monitoring, or scheduling.
Why Labels Are Crucial in the Long Run
While they might feel unnecessary when you’re managing a single pod or a small cluster, labels become indispensable as your Kubernetes environment grows. Here’s why:
1. Resource Segmentation
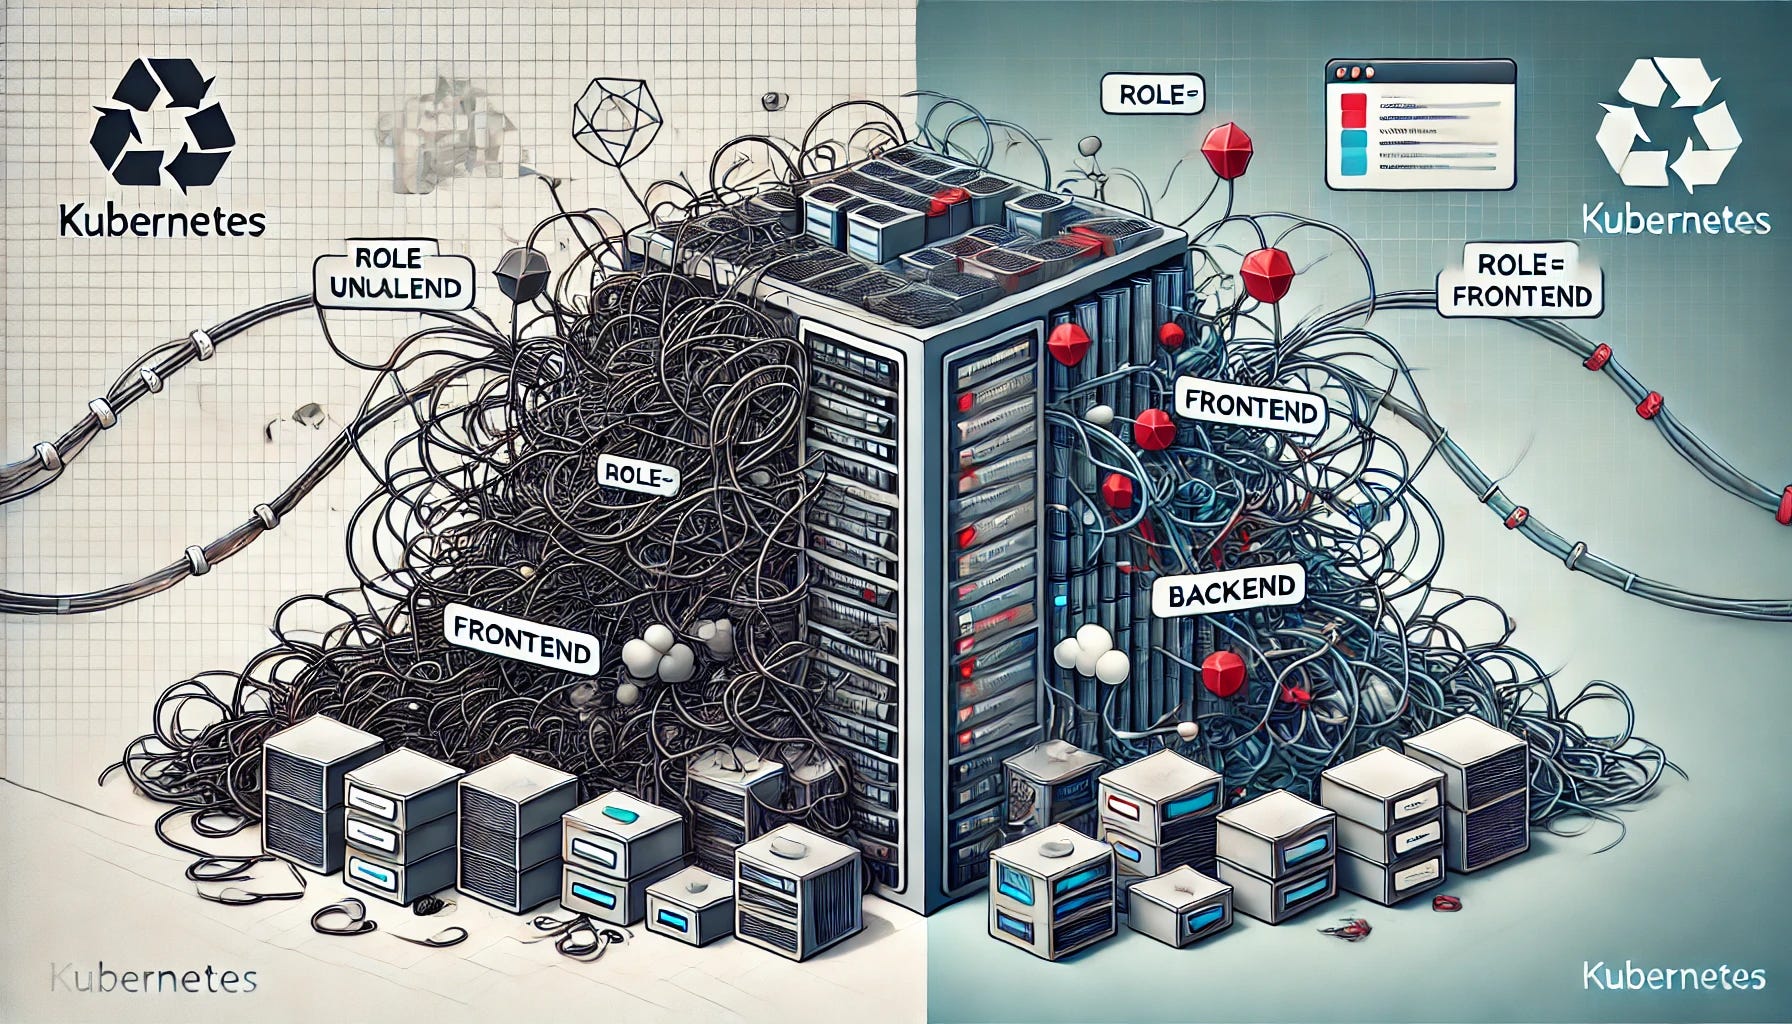
Imagine you’re running an application with a frontend and backend component. To optimize performance, you want frontend pods to run on nodes optimized for lightweight, CPU-intensive tasks, while backend pods should run on nodes with high memory capacity. By labeling your nodes, you can easily direct workloads to the appropriate hardware:
apiVersion: v1
kind: Node
metadata:
  name: node1
  labels:
    role: frontend
---
apiVersion: v1
kind: Node
metadata:
  name: node2
  labels:
    role: backend
---
apiVersion: apps/v1
kind: Deployment
metadata:
  name: frontend
spec:
  template:
    spec:
      nodeSelector:
        role: frontend
This simple setup ensures your workloads are placed where they’re most efficient, without requiring you to micromanage every pod.
2. Scaling and Monitoring
Labels allow you to group related resources and apply configurations or monitoring tools to them collectively. For example, if all pods related to your payment system have the label app=payments, you can scale them independently or set up alerts to track their behavior in production.
3. Simplified Management
When your cluster contains hundreds (or thousands) of pods, identifying specific resources can become overwhelming. Labels like env=dev or team=data-science help you isolate and manage resources quickly, whether you’re troubleshooting an issue or applying a configuration change.
The Problem with Labels in Beginner Tutorials
Here’s the issue: labels make sense only when you have a reason to use them. As a beginner, your Kubernetes cluster probably looks something like this:
• A couple of nodes.
• A few pods running a basic app.
• Maybe one or two services.
In this scenario, adding labels is like organizing a tiny bookshelf with color-coded labels and a Dewey Decimal System. Sure, it’s neat, but it’s overkill. Most beginners won’t benefit from labels because their use case doesn’t demand it yet.
In fact, prematurely introducing labels can add unnecessary cognitive load for newcomers. You’re already learning YAML, deployments, pods, services, and ingress—do you really need to worry about app=frontend?
When Labels Start Making Sense
Let’s look at an example. You’ve been running a simple cluster for a few weeks, and suddenly you’re asked to ensure that the frontend pods only run on specific nodes. If you didn’t plan for this by adding labels to your nodes, you’ll need to:
1. Add labels to your nodes manually.
2. Update your deployment spec to use those labels in the nodeSelector field.
On the other hand, if you had labeled your nodes from the start, this task would take just a couple of minutes.
Labels are also critical when you start working with tools like Helm, Prometheus, or ArgoCD, which often rely on labels to organize and track resources. If you’ve skipped labeling, integrating these tools can become a headache.
Practical Advice for Beginners
So, what should you do as a beginner?
1. Understand Labels Conceptually: Spend a few minutes learning what labels are and how they work, but don’t feel obligated to use them for every resource in your cluster right away.
2. Start Small: If you’re working on a tutorial that insists on labels, use simple ones like app=example. Treat it as practice for when you’ll need to manage a more complex setup.
3. Be Ready to Add Labels Later: When your cluster grows or your use case changes, it’s easy to add labels retroactively. Kubernetes is flexible, so don’t stress about getting everything perfect from day one.
4. Think Ahead for Nodes: If you know certain nodes will be used for specific workloads (e.g., frontend vs. backend), consider adding labels early. This is one area where labels can save you time down the line.
A Personal Take
When I first started with Kubernetes, I ignored labels entirely. At the time, I was running a single-node cluster with a basic app, and labeling everything felt pointless. Later, when I needed to split workloads across environments, I finally understood their value—and I regretted not using them earlier.
That said, forcing labels on a beginner who doesn’t yet understand their purpose can be counterproductive. Labels are a tool, not a requirement. They’re here to make your life easier, not harder. Use them when they make sense, and don’t worry if you’re not ready to dive into their full potential on day one.
Remember, don’t label everything just for the sake of it. Let your cluster grow, and the need for labels will come naturally.